If you own a Yamaha outboard motor, you must know how to proceed with the Yamaha lower unit replacement process. One part of outboard maintenance is replacing the lower unit when necessary.
If you’re unsure what a lower division is or how to replace it, don’t worry; we’ve got you covered. Maintaining your Yamaha outboard motor is an essential aspect of boat ownership, and replacing the lower unit may become necessary due to damage or wear and tear.
Following the manufacturer’s instructions and safety procedures when returning the lower unit is crucial, including gathering all the required tools and materials beforehand. Additionally, note any differences in design or parts when replacing a lower unit on different Yamaha outboard models. Now, follow the below guidelines to replace the Yamaha lower unit properly.
The Importance Of Lower Unit Maintenance
Lower unit maintenance is of utmost importance when it comes to ensuring the longevity and performance of your outboard engine. Regular maintenance is crucial whether you have a brand-new Yamaha outboard or a mercury outboard. One key aspect of outboard engine maintenance is the rotation of the engine model.
This involves checking and adjusting the shift shaft and ensuring smooth outdrive operation. Routine maintenance should never be overlooked, as it helps to identify and address potential issues before they become major problems.
By prioritizing outboard motor repair, you can keep your outboard engine running smoothly and enjoy worry-free boating. Maintaining the lower unit of your Triumph Thunderbird 900 is crucial for optimal performance and longevity. Regularly inspect and clean the prop shaft to ensure smooth operation.
Change the unit gear oil at recommended intervals using a socket wrench. Don’t forget to replace fuel filters to prevent engine issues. Follow unit care tips to enhance performance and protect the unit from saltwater damage. Be vigilant against water intrusion to avoid costly, expensive repairs.
Signs You Need A Yamaha Outboard Lower Unit Replacement
If you own a boat with a Yamaha outboard engine, you must watch for signs indicating the need for a lower unit replacement. The lower unit is a crucial component of the outboard motor, responsible for transferring the power from the engine to the propeller. Over time, wear and tear, as well as external factors such as water damage or collisions, can cause damage to the lower unit.
- Excessive noise/vibration from the lower unit
- Difficulty shifting gears/engaging lower unit
- Decreased boat control
- Decreased performance/power output
- Excessive shallow water/milky gear oil
- Damaged/worn gears/seals/bearings
- Inability to maintain speed/RPMs
- Increased fuel consumption/inefficiency
- Visible damage/corrosion on lower unit housing
Steps For Yamaha Lower Unit Replacement Process
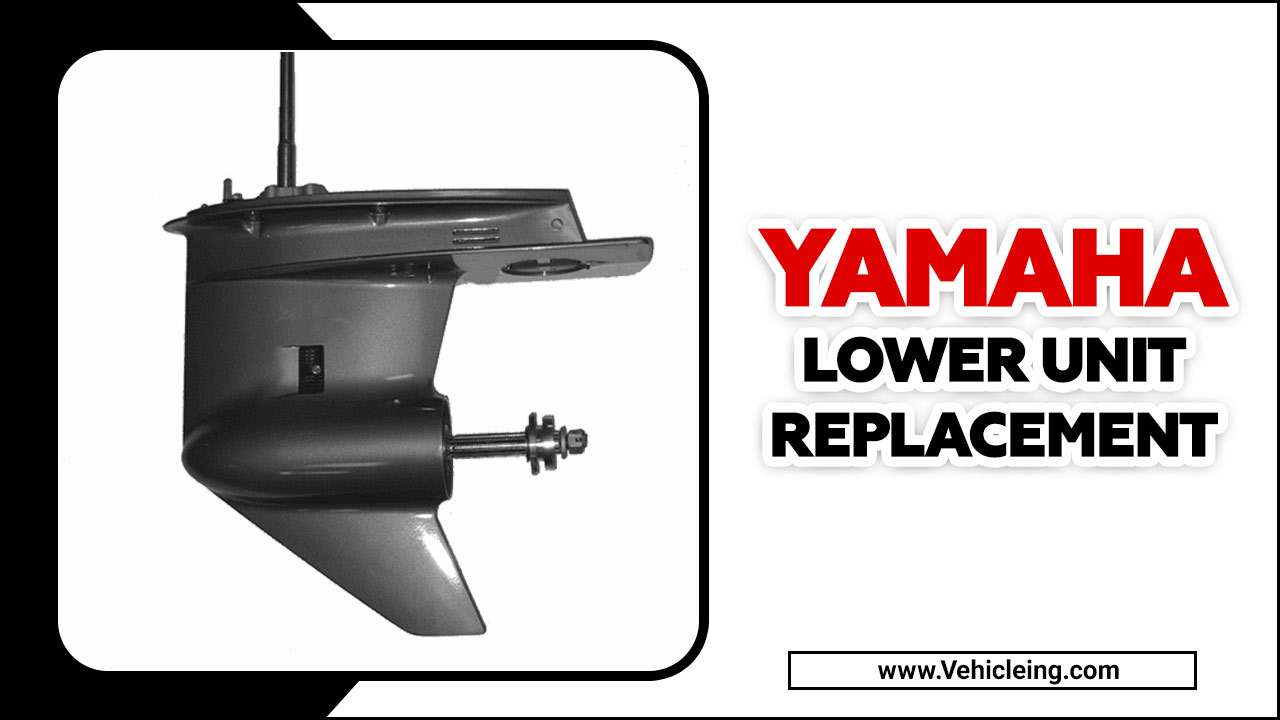
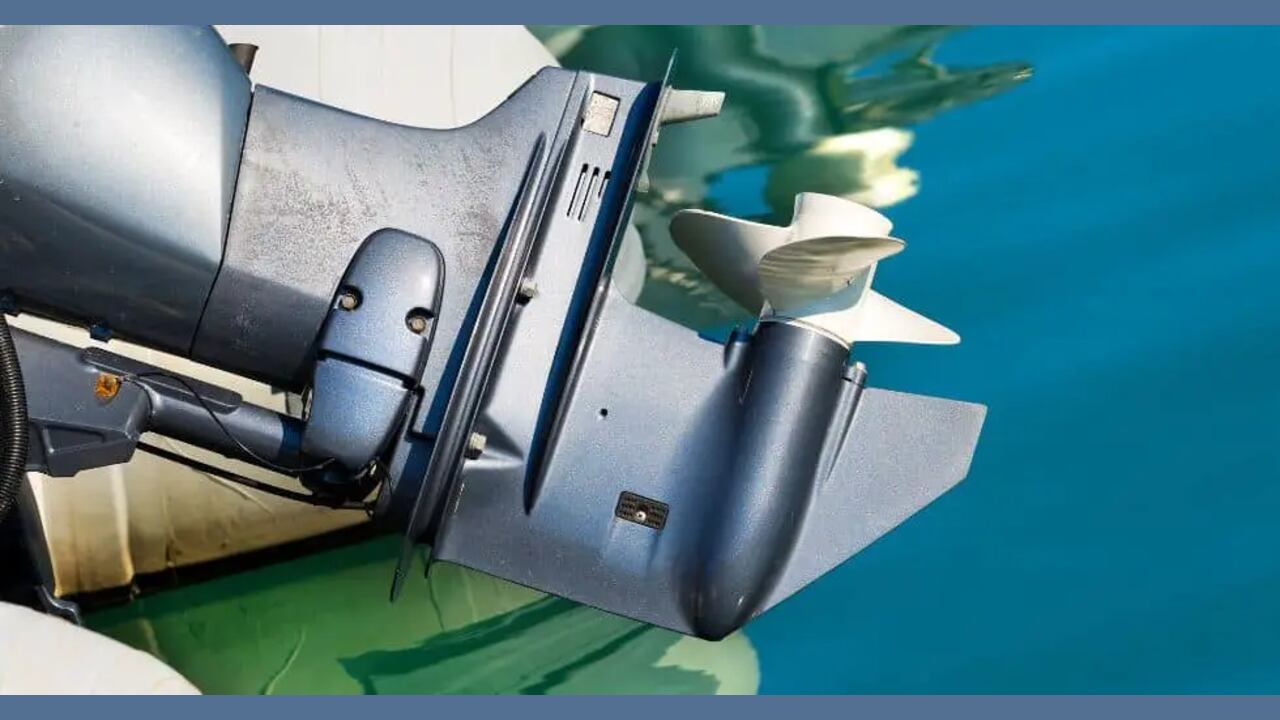
The Yamaha outboard lower unit is a critical motor component below the engine’s midsection. It houses essential parts, including the driveshaft, gearbox, and water pump. The inferior team propels the boat through the water by transferring power from the engine’s crankshaft to the propeller.
Over time, wear and tear or damage can necessitate replacement to ensure optimal performance. Proper maintenance of your outboard motor’s lower unit can help extend its lifespan and keep you safe on the water. Here are the steps for the Yamaha lower unit replacement process.
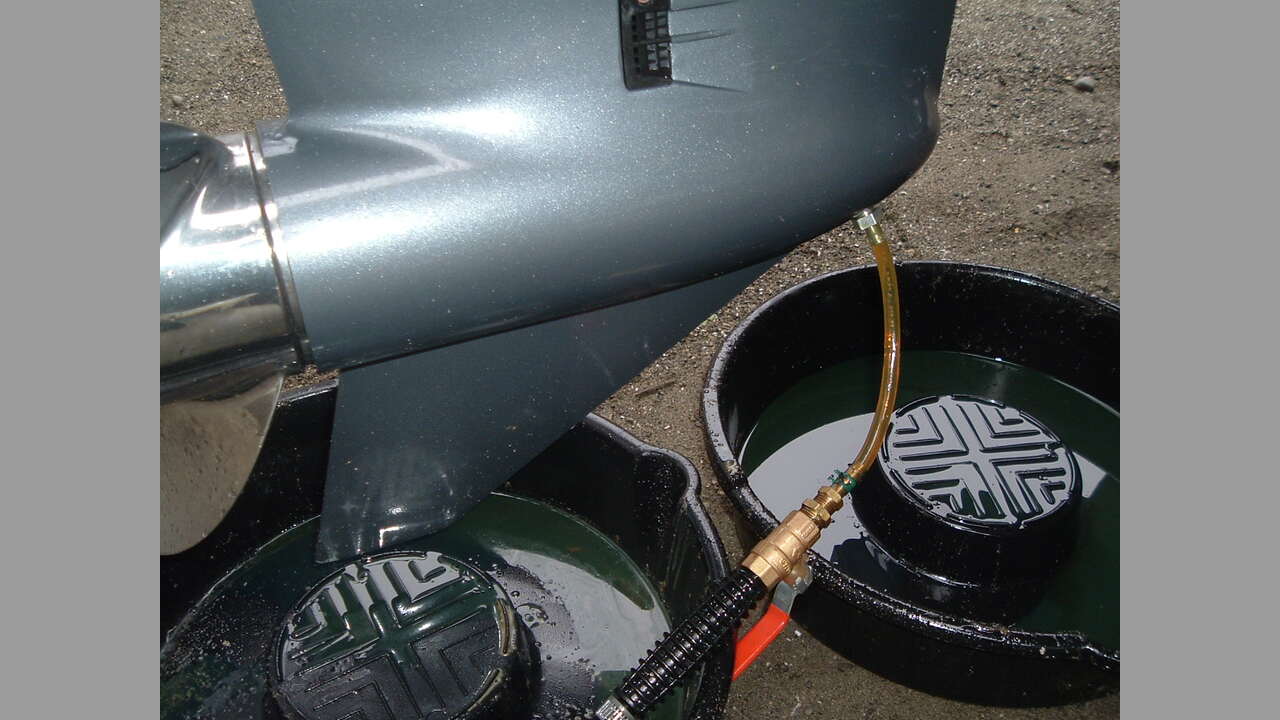
Drain Lower Unit Oil
As the first step in replacing your Yamaha outboard lower unit, it’s crucial to drain the old oil properly. A container for the old oil and a clean rag are essential tools. After positioning the engine vertically, remove the drain plug and let the oil flow into the container.
Inspect the old oil for any wear or damage, such as metal shavings or debris that may indicate an underlying issue with your lower unit. Dispose of the old oil safely and move on to the next step in replacing your Yamaha outboard lower unit.
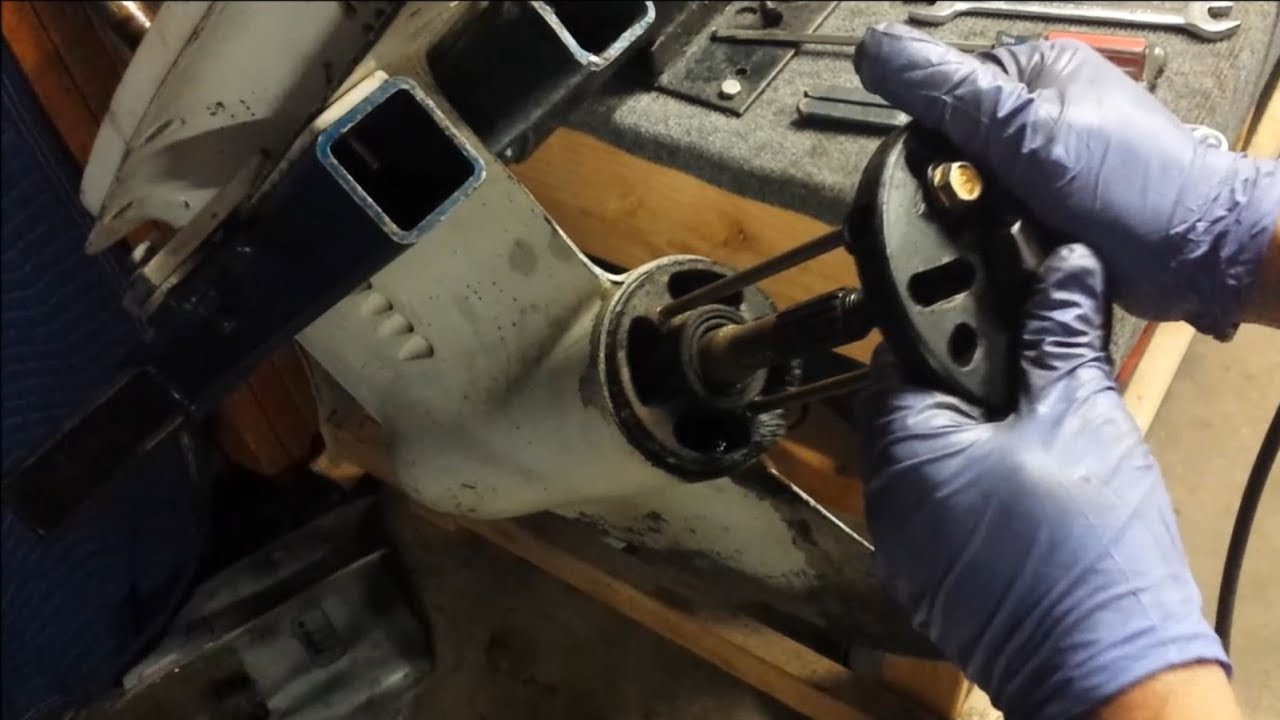
Remove Lower Unit
Removing the lower unit is a crucial step in Yamaha outboard lower unit replacement. Begin by ensuring that the propeller and all mounting bolts or screws that secure the lower unit to the engine are removed. A gearcase puller can then carefully separate the more inferior team from the engine housing.
Inspect all old seals and gaskets for wear and replace them as necessary before installing the new lower unit. It’s essential to torque all nuts, bolts, and screws to the manufacturer’s specifications during reassembly for optimal function and safety.
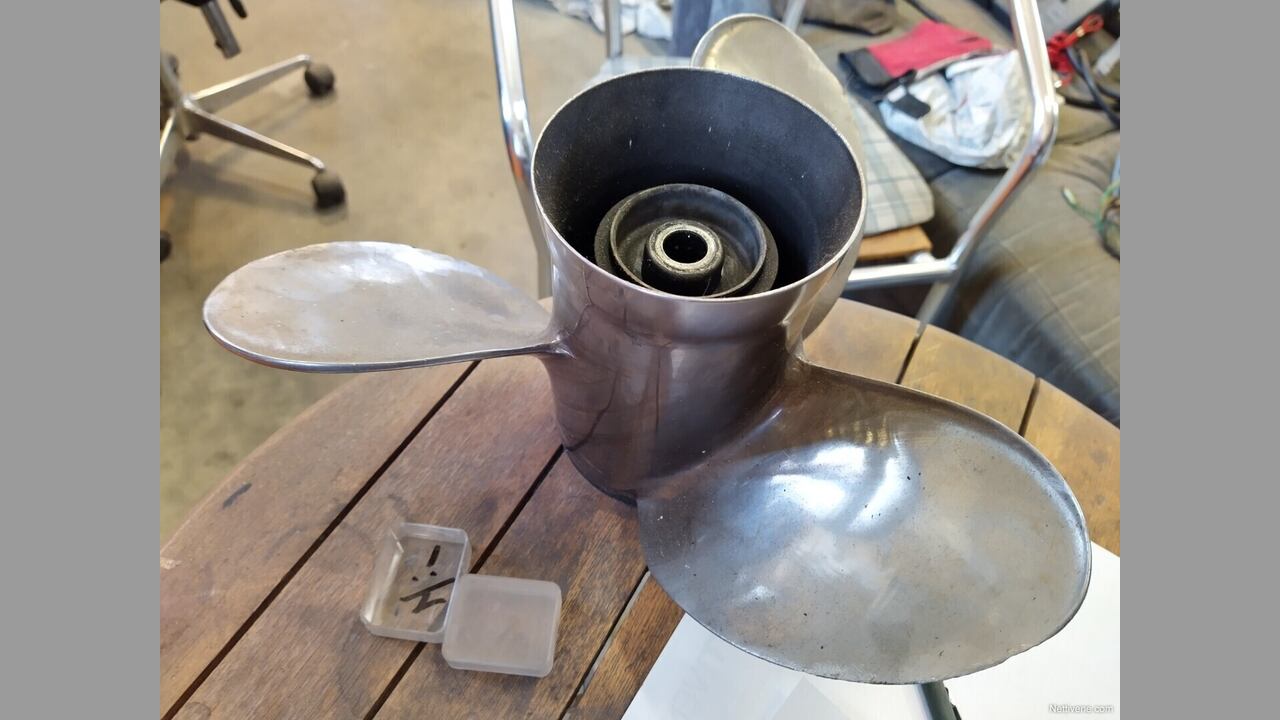
Disassemble Old Lower Unit
Properly disassembling the old lower unit is vital in replacing a Yamaha outboard lower unit. This process involves removing the propeller, draining the gear oil, and disconnecting any wiring or cables connected to the team.
Use a jack or hoist to support the motor safely while removing the bolts attached to the transom. With careful maneuvering, you can remove the old lower unit and prepare it for recycling or disposal before installing your new one.
Assemble New Lower Unit
Assembling a new lower unit can be daunting, but you can do it yourself with the right tools and instructions. Proper lubrication of all parts is crucial to ensure smooth operation. Follow the manufacturer’s specifications while tightening bolts and screws with a torque wrench.
After assembly, check for any leaks or issues with gear oil before testing on the water. Your Yamaha Outboard manual will provide specific assembly instructions and diagrams. A water tube is an essential component of the Yamaha lower unit replacement.
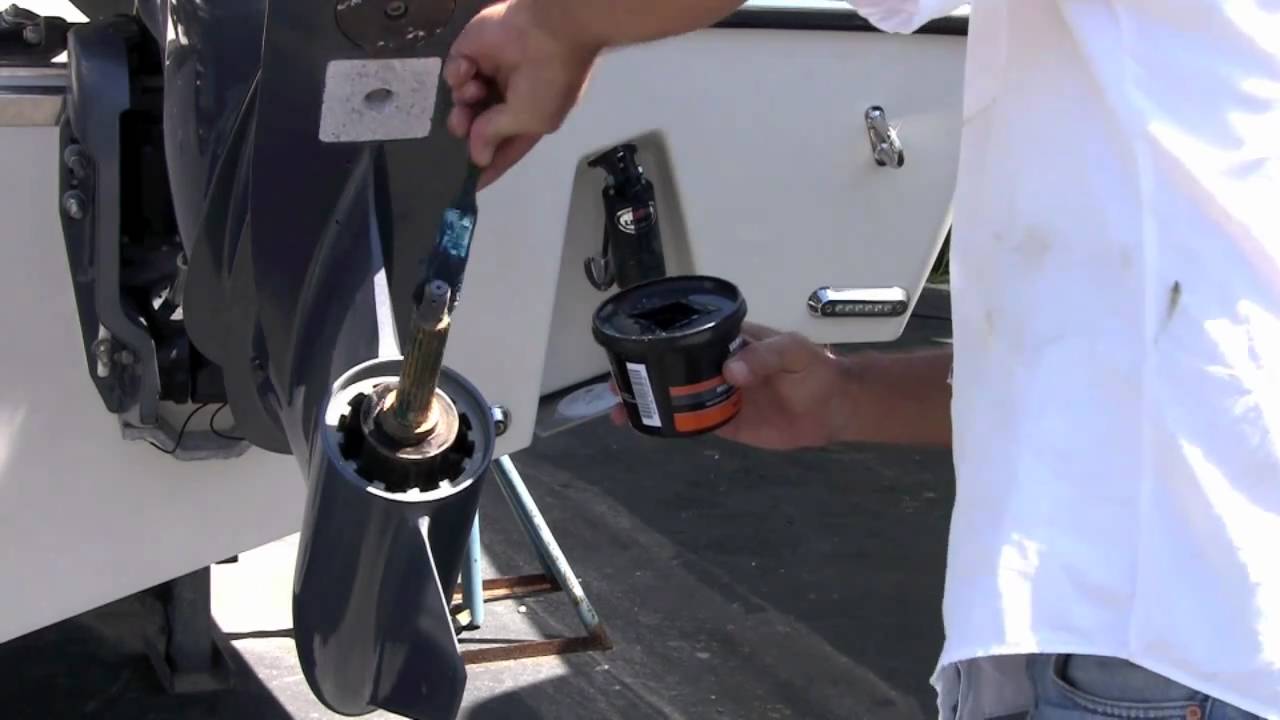
Reinstall The New Lower Unit
After disassembling the old lower unit, it’s time to install the new one. Begin by cleaning and inspecting the mating surfaces before applying a thin layer of marine-grade silicone sealant to the new lower unit.
Be sure to align the driveshaft splines with the splines in the crankshaft before sliding the new lower unit into place. Search Advanced” is a keyword that refers to an advanced search functionality. Finally, reinstall bolts or screws removed during disassembly, tightening them to recommended torque specifications.
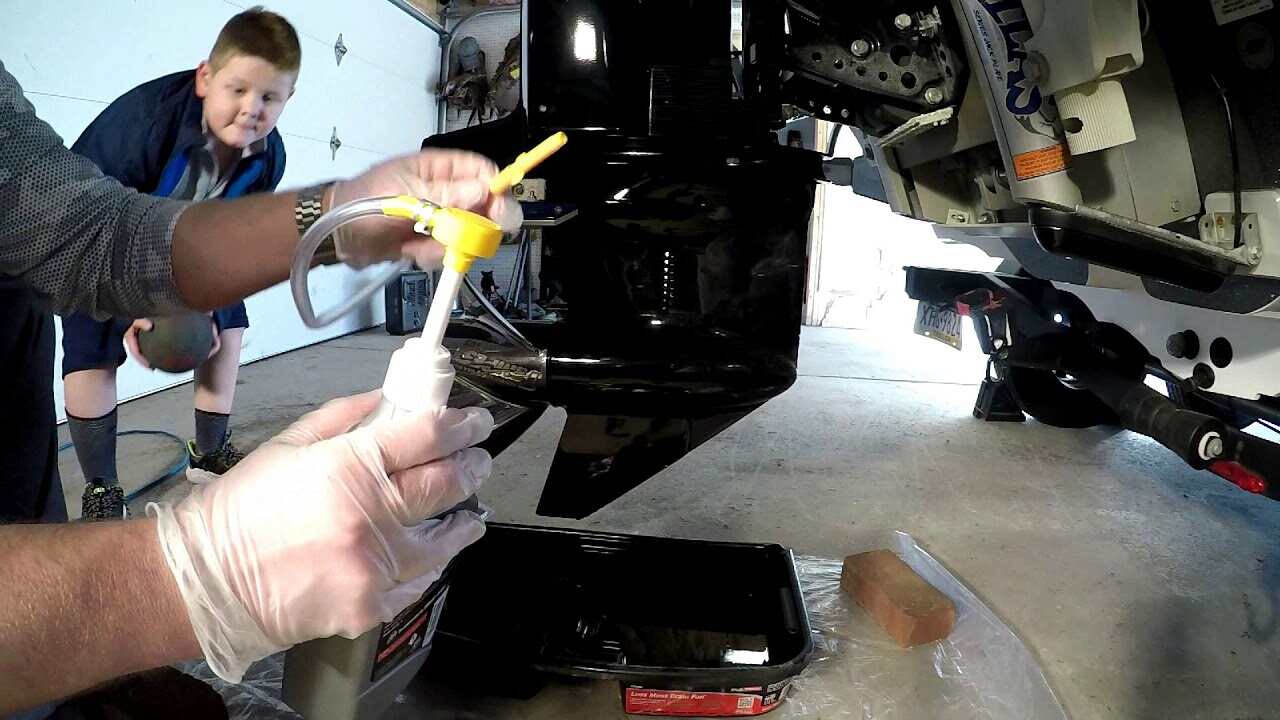
Refill Lower Unit Oil
The lower unit oil is critical for maintaining the proper functioning of your Yamaha outboard motor. Before refilling the oil, ensure you have drained the old oil and inspected it for any signs of contamination or metal shavings.
Select the appropriate type of Yamaha-recommended oil for your outboard model, use a funnel to pour it into the designated fill hole, and check the oil level with a dipstick. Don’t forget to replace any gaskets or seals that may have been removed during the replacement process for optimal results.
Testing The Installation
After the Yamaha lower unit replacement, testing the installation for leaks and proper functionality is crucial. Start the engine and listen for unusual sounds while shifting gears to ensure everything is secure.
Afterward, test the boat on the water at various speeds to ensure smooth operation. Inspect all bolts and connections after testing to ensure nothing has come loose. The unit performance of Yamaha-lower unit replacement is crucial for optimal functionality.
Tips For Maintaining Your New Yamaha Lower Unit
Maintaining your new Yamaha lower unit is essential in prolonging the life of your outboard motor. Regularly check for any signs of wear and tear, change the oil and lubricants as Yamaha recommends, and clean the lower unit after each use to prevent corrosion or damage.
Using high-quality replacement parts during the replacement process ensures longevity and prevents unnecessary downtime and costly repairs. Following proper installation procedures ensures everything is fitted correctly and securely, giving you peace of mind on every boat outing.
Benefits Of Aftermarket Yamaha Lower Units
Aftermarket Yamaha lower units offer a wide range of benefits that can be attractive to boat owners. These are often less expensive than OEM parts, offering comparable reliability and durability. Additionally, upgrading to an aftermarket lower unit can increase the performance of your boat by providing more customization options and features.
With aftermarket options available for various Yamaha outboard models and years, you can find a compatible part that fits your needs and budget. Consider these benefits when deciding to purchase an aftermarket Yamaha lower unit.
Factors To Consider Before Buying An Aftermarket Yamaha Lower Unit
There are several factors to consider when purchasing an aftermarket Yamaha lower unit. First, ensuring that the aftermarket lower unit is compatible with your Yamaha outboard model is essential.
Additionally, it’s crucial to look for a high-quality aftermarket lower unit made from durable materials. Opting for low-quality aftermarket lower units instead of correct replacement unit can lead to various issues that can significantly impact your boating experience.
Price should also be considered and compared to OEM options, and checking if the aftermarket lower unit comes with a warranty or guarantee is recommended. Finally, researching the manufacturer’s reputation and reading customer reviews can help make an informed purchasing decision.
The Estimated Cost Of Replacing Yamaha Outboard Lower Unit
Replacing a Yamaha outboard lower unit can be costly, with prices varying depending on your motor’s specific model and size. On average, you can expect to pay anywhere from $1,500 to $3,000 for a replacement unit. However, the cost may be higher or lower depending on factors such as the age of your motor and whether you opt for a new or used lower unit.
It is important to note that while it may be tempting to save money by purchasing a used lower unit, this can come with risks, such as hidden damage or wear and tear that may not be immediately apparent. It is best to consult a trusted professional to ensure proper alignment.
How Often Should I Perform Maintenance On The Lower Unit Of My Yamaha Outboard?
Performing regular maintenance on the lower unit of your Yamaha outboard is essential to ensure optimal performance and longevity of your boat’s engine. The lower unit, also known as the gearcase or gear housing, houses vital components such as gears, bearings, seals, and propeller shafts.
The frequency of lower unit maintenance depends on a few factors, including the type of water you typically navigate in and the amount of use your boat gets. In general, it is recommended to perform routine maintenance on the lower unit at least once a year or every 100 hours of operation. If you primarily operate your boat in saltwater, it is crucial to perform more frequent maintenance due to the corrosive nature of salt.
Regarding the maintenance of your Yamaha Outboard’s lower unit, a few key components require regular service. One important aspect is the water pump replacement, which should be done at recommended intervals to ensure proper cooling system function.
Another essential maintenance task is applying marine grease to various components, such as the casing and spark plugs, to prevent corrosion and ensure smooth operation. Following these maintenance procedures and utilizing advanced search techniques for troubleshooting triumph Thunderbird, 900 problems can keep your outboard running smoothly for years.
Conclusion
Solving Triumph Thunderbird 900 problems can be a difficult process. A Yamaha lower unit replacement process is not complex, provided you have the right tools and follow the steps correctly. Replacing your lower unit at signs of wear and tear or damage is crucial to avoid significant engine damage.
Maintaining your new Yamaha Lower Unit is critical, too. Regularly changing the oil and inspecting for leaks will ensure it runs smoothly for years. Aftermarket Yamaha Lower Units are an excellent option if you’re looking for cost-effective options without compromising quality. Before purchasing one, consider factors like warranty, construction material, manufacturer reputation, and more.
Frequently Asked Questions
1.What Is A Yamaha Lower Unit Made Of?
Ans: A Yamaha lower unit is made primarily of metal, typically aluminum alloy. It is designed to be durable and withstand the harsh conditions of marine environments, including exposure to water, waves, and debris.
2.How Long Do Yamaha Engines Last?
Ans: With proper maintenance and regular servicing, it is not uncommon for a Yamaha engine to last 10-20 years or more.
3.Are Yamaha Motors Made In Japan?
Ans: Yes, Yamaha motors are made in Japan. Yamaha Motors is a well-known and trusted brand in the automotive industry. With a rich history dating back to 1955
4.How Much Oil Goes In A Lower Unit?
Ans: The amount of oil required for a lower unit can vary depending on the specific make and model of the engine. It is important to consult the owner’s manual or manufacturer’s guidelines to determine the correct amount of oil needed for the lower unit.
5.Does Yamaha Make Toyota Engines?
Ans: No, Yamaha does not make Toyota engines. While Yamaha is a well-known manufacturer of motorcycles, marine engines, and other products, they do not produce engines for Toyota vehicles.